
Part 6: Bridging the Gap – Building the React Frontend for Our Multimodal AI
By Ben White | Part 6 of the "Agentic Architect" Series (Phase 2)
If you’ve been following along in this series, you already have something most AI developers don't: a production-grade, tightly secured, multimodal backend. We designed the architecture, wrote the Zod schemas, and deployed our Gemini UX Auditor to the cloud using Firebase Genkit.
But right now, it’s just a URL floating in Google Cloud.
Today, we will cross the finish line. We are bridging the "Deployment Gap."
In this installment, we are stepping out of the terminal and into the browser. We are going to build a blazing-fast React frontend that allows users to drag and drop UI screenshots and watch our agent generate a brutal, beautifully formatted UX audit in real-time.
No API keys exposed to the client. No CORS errors. Just a seamless full-stack AI application. Let’s build it.
Step 1: The Scaffolding (Vite + React)
For this tutorial, we are using Vite + React. While Next.js is the enterprise standard for full-stack applications (and I’ll link a Next.js version of this project at the end), Vite is the absolute fastest way to build a pure client-side application with minimal configuration. We want to focus on the AI integration, not server-side rendering quirks.
Open your terminal and run:
npm create vite@latest ux-audit-client -- --template react-ts
cd ux-audit-client
npm install
Next, we need two specific packages to make the magic happen:
npm install firebase react-markdownfirebase: The official client SDK. This contains our secret weapon for communicating with our backend.
react-markdown: Gemini is instructed to return its audit in strict Markdown format. This library will safely parse that string into beautiful HTML.
Step 2: The Firebase Bridge (firebase.ts)
If we were building a standard REST API, our frontend would be littered with messy fetch() wrappers, manual header configurations, and complex CORS error handling.
Because we deployed our backend using Firebase Functions, we get to use Firebase's httpsCallable. It automatically formats our payload, handles the networking, and gives us a strictly typed, promise-based function we can call anywhere in our React app.
Create a src/firebase.ts file and add this configuration:
import { initializeApp } from "firebase/app";
import { getFunctions, httpsCallable } from "firebase/functions";
// 1. Your Web App's Firebase Configuration (Get this from your Firebase Console)
const firebaseConfig = {
  apiKey: "YOUR_WEB_API_KEY",
  authDomain: "YOUR_PROJECT.firebaseapp.com",
  projectId: "YOUR_PROJECT",
  storageBucket: "YOUR_PROJECT.appspot.com",
  messagingSenderId: "YOUR_MESSAGING_SENDER_ID",
  appId: "YOUR_APP_ID"
};
// 2. Initialize the Firebase App
const app = initializeApp(firebaseConfig);
// 3. Initialize Cloud Functions (Must match your deployment region!)
const functions = getFunctions(app, "us-central1");
// 4. Create the strictly-typed callable function
// "uxAuditEndpoint" MUST perfectly match the export name from your backend index.ts
export const runUxAudit = httpsCallable(functions, "uxAuditEndpoint");
To your React app, runUxAudit just looks like a normal, asynchronous TypeScript function. You pass it a JSON object, and it returns a Markdown string. The Deployment Gap is officially bridged.
Step 3: Solving Network Timeouts with UI
In Part 5, we discovered a common serverless quirk: the "Cold Start Timeout." When you pass a standard web URL to Gemini, Google's servers attempt to download that image. If the server is just waking up, that external download can cause the entire request to time out.
The architectural fix? Base64 Encoding.
We are going to build a drag-and-drop component that takes the user's local image and converts it into a Base64 string directly in the browser. By sending the raw bytes to our backend, Gemini never has to reach out to the internet to download anything.
Create src/components/ImageUploader.tsx:
import { useState, useRef } from 'react';
import type { DragEvent, ChangeEvent } from 'react';
interface ImageUploaderProps {
  onImageReady: (base64String: string) => void;
}
export default function ImageUploader({ onImageReady }: ImageUploaderProps) {
  const [isDragging, setIsDragging] = useState(false);
  const [previewUrl, setPreviewUrl] = useState<string | null>(null);
  const fileInputRef = useRef<HTMLInputElement>(null);
  // Convert the File to a Base64 Data URL locally!
  const processFile = (file: File) => {
    if (!file.type.startsWith('image/')) return;
    const reader = new FileReader();
    reader.onloadend = () => {
      const base64String = reader.result as string;
      setPreviewUrl(base64String);
      onImageReady(base64String);
    };
    reader.readAsDataURL(file);
  };
  const handleDrop = (e: DragEvent<HTMLDivElement>) => {
    e.preventDefault();
    setIsDragging(false);
    if (e.dataTransfer.files && e.dataTransfer.files.length > 0) {
      processFile(e.dataTransfer.files[0]);
    }
  };
  return (
    <div className="uploader-container">
      <div
        className={`dropzone ${isDragging ? 'dragging' : ''}`}
        onDragOver={(e) => { e.preventDefault(); setIsDragging(true); }}
        onDragLeave={(e) => { e.preventDefault(); setIsDragging(false); }}
        onDrop={handleDrop}
        onClick={() => fileInputRef.current?.click()}
      >
        {previewUrl ? (
          <img src={previewUrl} alt="UI Preview" className="image-preview" />
        ) : (
          <div className="dropzone-content">
            <span className="icon">📁</span>
            <p>Drag and drop a UI screenshot here</p>
          </div>
        )}
        <input type="file" accept="image/*" ref={fileInputRef}
               onChange={(e) => e.target.files && processFile(e.target.files[0])}
               style={{ display: 'none' }} />
      </div>
    </div>
  );
}
To start the web interface type “npm run dev” in your terminal
Note the Url: http://localhost:5173/
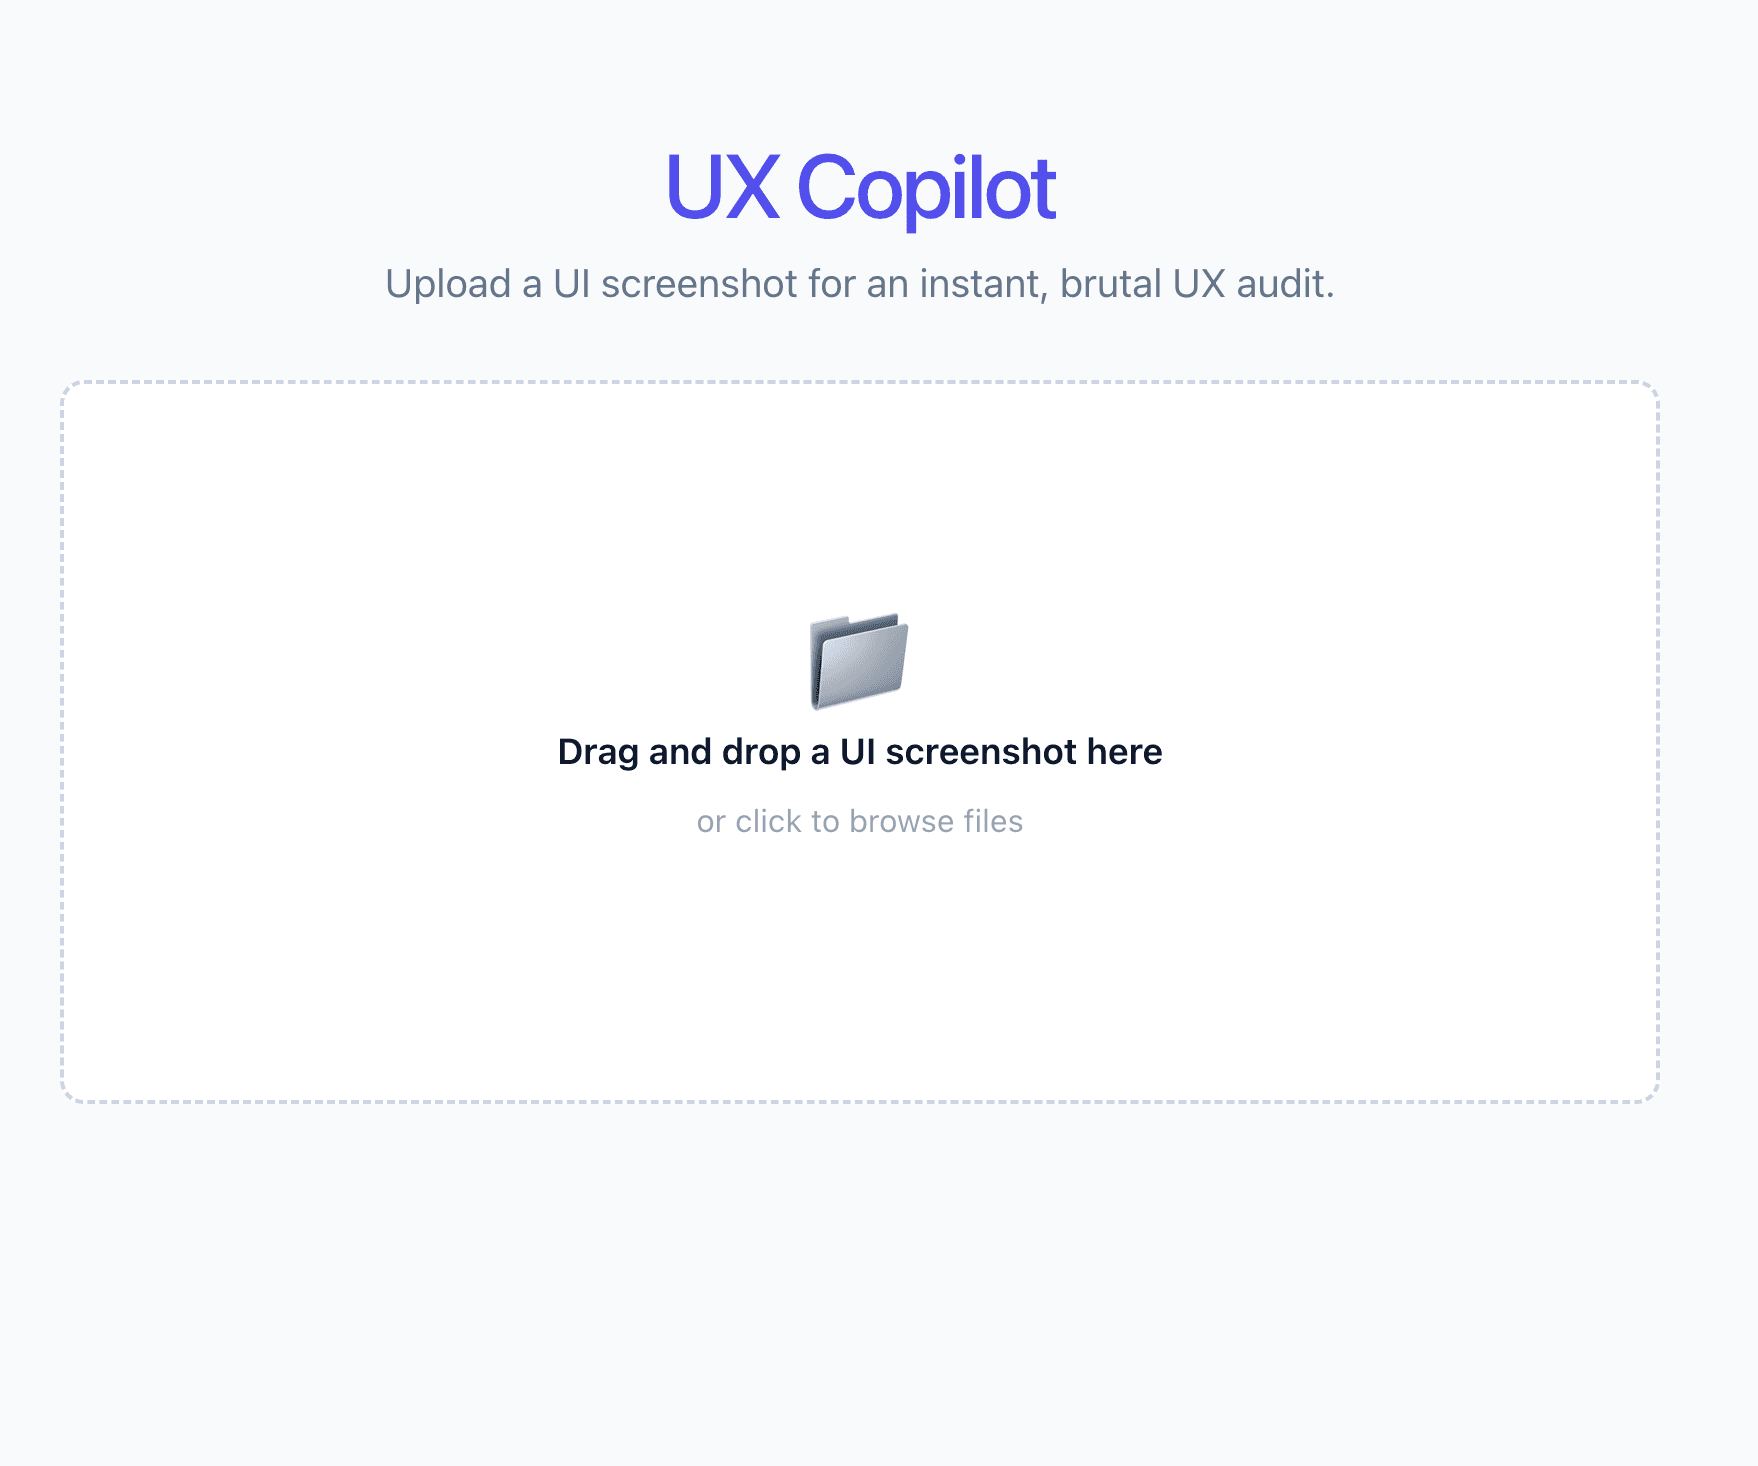
UX copilot UI screenshot
Step 4: The Final Integration
All the pieces are on the board. We have our Firebase bridge and our Base64 image uploader. Now, we wire it all together in src/App.tsx.
When the user clicks "Run UX Audit," we fire the payload to the cloud, wait for the AI to process it, and render the resulting Markdown.
Replace the content in src/App.tsx:
import { useState } from 'react';
import ImageUploader from './components/ImageUploader';
import { runUxAudit } from './firebase'; // Import our Firebase bridge
import ReactMarkdown from 'react-markdown'; // Import the Markdown renderer
import './App.css';
function App() {
  const [imageBase64, setImageBase64] = useState<string | null>(null);
  const [isAuditing, setIsAuditing] = useState(false);
  const [auditResult, setAuditResult] = useState<string | null>(null);
  // Triggered by our ImageUploader dropzone
  const handleImageReady = (base64String: string) => {
    setImageBase64(base64String);
    setAuditResult(null); // Clear previous results if they upload a new image
  };
  // Triggered by the "Run UX Audit" button
  const handleRunAudit = async () => {
    if (!imageBase64) return;

    setIsAuditing(true);
    setAuditResult(null);
    try {
      // Send the payload to our Cloud Function!
      const response = await runUxAudit({ mediaUrl: imageBase64 });

      // The response.data contains the text returned by Genkit
      setAuditResult(response.data as string);
    } catch (error) {
      console.error("Audit failed:", error);
      alert("Something went wrong with the audit. Check the console.");
    } finally {
      setIsAuditing(false);
    }
  };
  return (
    <div className="app-container">
      <header>
        <h1>UX Copilot</h1>
        <p>Upload a UI screenshot for an instant, brutal UX audit.</p>
      </header>

      <main>
        <ImageUploader onImageReady={handleImageReady} />
        {/* Show the button ONLY if an image is loaded and we aren't currently auditing */}
        {imageBase64 && !isAuditing && !auditResult && (
          <div className="action-container" style={{ textAlign: 'center', marginTop: '2rem' }}>
            <button
              className="audit-button"
              onClick={handleRunAudit}
            >
              🚀 Run UX Audit
            </button>
          </div>
        )}
        {/* Show a loading state */}
        {isAuditing && (
          <div className="loading-state" style={{ textAlign: 'center', marginTop: '2rem' }}>
            <p className="pulse-text">🤖 Gemini is analyzing the UI...</p>
          </div>
        )}
        {/* Render the beautifully formatted Markdown result! */}
        {auditResult && (
          <div className="results-container" style={{ marginTop: '3rem', textAlign: 'left' }}>
            <h2>Audit Results</h2>
            <div className="markdown-body">
              <ReactMarkdown>{auditResult}</ReactMarkdown>
            </div>
          </div>
        )}
      </main>
    </div>
  );
}
export default App;
UX copilot screenshot 2
When you hit that button, the magic happens. Gemini 2.5 Flash analyzes the visual hierarchy, text contrast, and layout of the image, returning exactly the structured Markdown we demanded in our System Prompt.
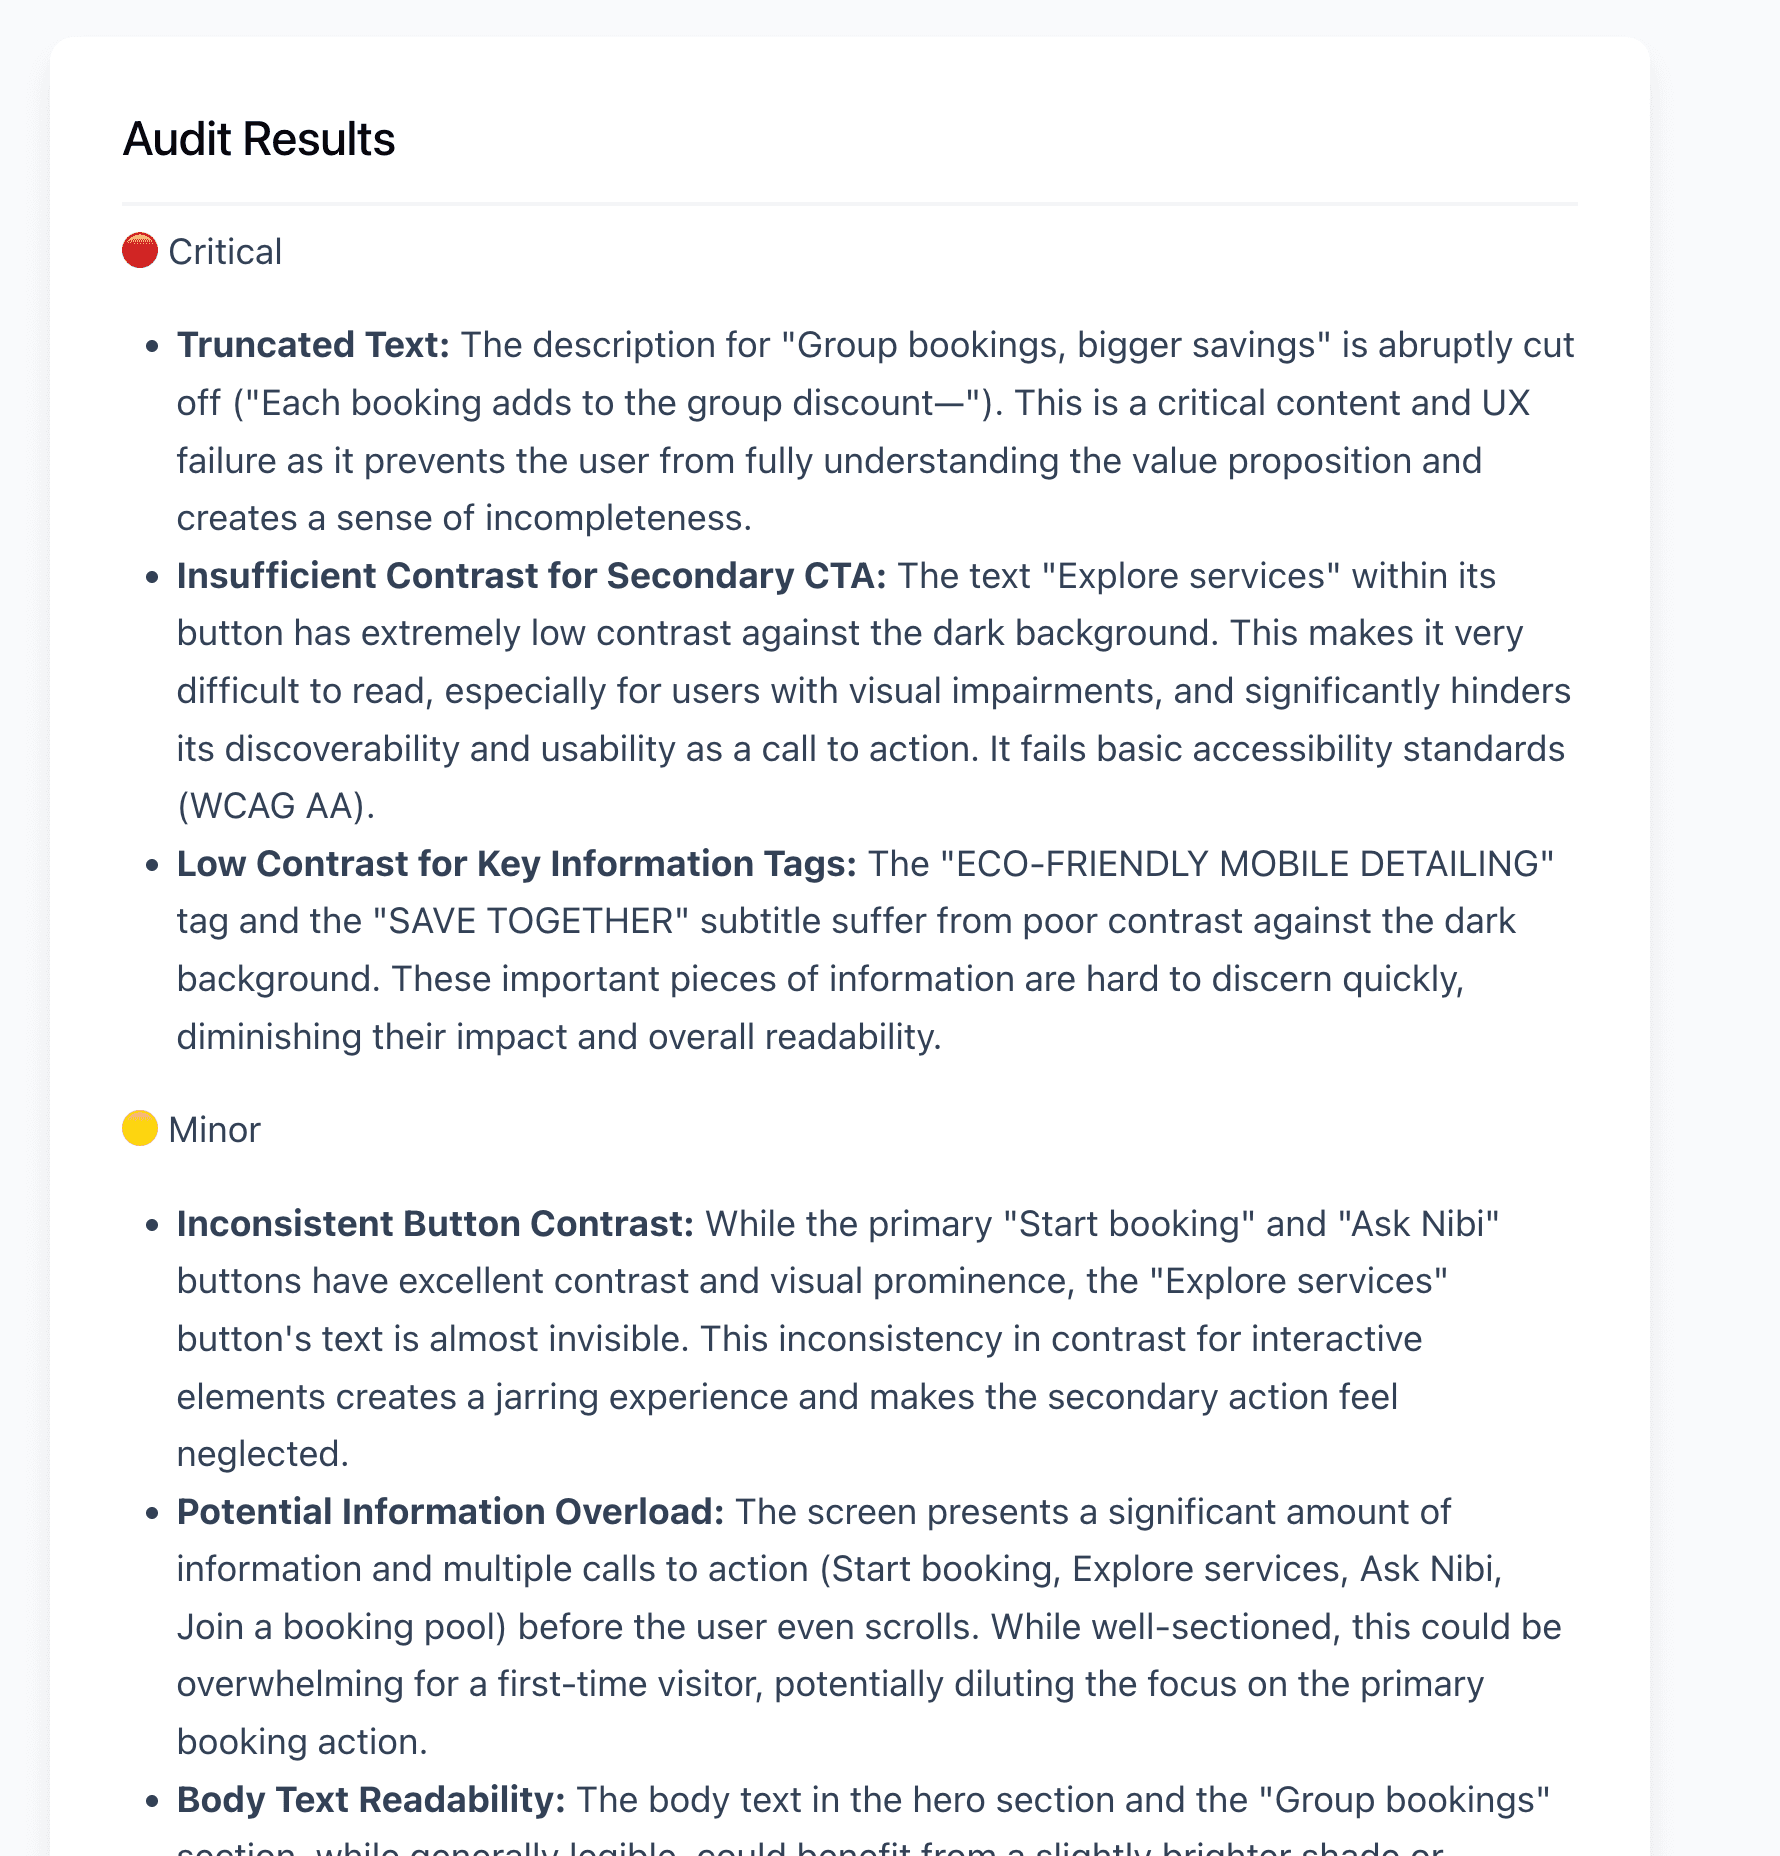
UX copilot Output
The Architecture of the Future
Look at what you just built. You didn't just write a Python script in a Jupyter notebook; you engineered a complete product.
By combining Genkit’s structured AI flows with Firebase’s serverless architecture and React’s dynamic UI, you’ve created a blueprint for modern AI development. You solved multimodal data handling with Base64 encoding, secured your API keys in the cloud, and forced an LLM to return strict, predictable UI components.
This is what the future of full-stack engineering looks like. The "Deployment Gap" is officially bridged.
Now, go audit some user interfaces.
Bonus for the Enterprise Devs: If you want to see how this exact same architecture maps to an industry-standard full-stack framework, I have ported this entire project to a Next.js (App Router) repository. You can check out the source code here: https://github.com/TechKnow-WhiteSpace/ux-audit-next
Appendix: The CSS Blueprint (src/App.css)
To ensure your application looks exactly like the screenshots above, you need to replace the default Vite styling. We are using standard, modern CSS with a few specific tricks (like -webkit-background-clip for the gradient text and CSS animations for the loading state).
Open your src/App.css file, delete everything inside, and paste this in:
/* --- Global & Layout --- */
body {
  font-family: system-ui, -apple-system, sans-serif;
  background-color: #f8fafc;
  color: #0f172a;
  margin: 0;
  display: flex;
  justify-content: center;
}
.app-container {
  max-width: 800px;
  width: 100%;
  padding: 2rem;
  display: flex;
  flex-direction: column;
  gap: 2rem;
}
/* --- Header Styles --- */
header {
  text-align: center;
}
header h1 {
  font-size: 2.5rem;
  margin-bottom: 0.5rem;
  padding-top: 0.2em; /* Prevents gradient clipping */
  line-height: 1.2;
  background: linear-gradient(to right, #2563eb, #7c3aed);
  -webkit-background-clip: text;
  -webkit-text-fill-color: transparent;
}
header p {
  color: #64748b;
  font-size: 1.1rem;
}
/* --- Dropzone Styles --- */
.uploader-container {
  width: 100%;
}
.dropzone {
  border: 2px dashed #cbd5e1;
  border-radius: 12px;
  padding: 3rem 2rem;
  text-align: center;
  background-color: #ffffff;
  cursor: pointer;
  transition: all 0.2s ease-in-out;
  display: flex;
  justify-content: center;
  align-items: center;
  min-height: 250px;
}
.dropzone:hover, .dropzone.dragging {
  border-color: #3b82f6;
  background-color: #eff6ff;
}
.dropzone-content .icon {
  font-size: 3rem;
  display: block;
  margin-bottom: 1rem;
}
.dropzone-content p {
  font-weight: 600;
  margin: 0;
}
.image-preview {
  max-width: 100%;
  max-height: 400px;
  border-radius: 8px;
  box-shadow: 0 4px 6px -1px rgb(0 0 0 / 0.1);
}
/* --- Action Button --- */
.action-container {
  text-align: center;
  margin-top: 2rem;
}
.audit-button {
  background-color: #0f172a;
  color: white;
  border: none;
  padding: 1rem 2rem;
  font-size: 1.1rem;
  font-weight: 600;
  border-radius: 8px;
  cursor: pointer;
  transition: background-color 0.2s;
  box-shadow: 0 4px 6px -1px rgb(0 0 0 / 0.1);
}
.audit-button:hover {
  background-color: #334155;
}
/* --- Loading Animation --- */
.loading-state {
  text-align: center;
  margin-top: 2rem;
}
.pulse-text {
  font-weight: 600;
  color: #3b82f6;
  animation: pulse 1.5s infinite;
}
@keyframes pulse {
  0%, 100% { opacity: 1; }
  50% { opacity: 0.5; }
}
/* --- Markdown Report Styles --- */
.results-container {
  margin-top: 3rem;
  text-align: left;
  background: white;
  padding: 2rem;
  border-radius: 12px;
  box-shadow: 0 10px 15px -3px rgb(0 0 0 / 0.1);
}
.results-container h2 {
  margin-top: 0;
  border-bottom: 2px solid #f1f5f9;
  padding-bottom: 1rem;
}
.markdown-body {
  line-height: 1.6;
  color: #334155;
}
.markdown-body h3 {
  color: #0f172a;
  margin-top: 1.5rem;
}
.markdown-body ul {
  padding-left: 1.5rem;
}